
Two player’s guides were published in magazines – The One issue 11 (August 1989) and Amiga Format issue 2 (September 1989), both with tips directly from the programmers.
The One Player’s Guide
“Cross Brian Nesbitt’s palm with silver and he’ll tell your fortune… The One’s resident champ teams up with Binary Vision to play the zodiac game.“
Bias
Selecting a gameplay style from one of the three available is important. Experiment with them and decide which is the best for you. The Tactical Bias makes the evil growth more intelligent than usual, while the guardians are quite tame. In addition your craft is slower, but more manoeuvrable than usual. In Arcade mode, the evil growth is quite stupid, but the guardians are vicious sods. The added inertia on the craft makes things a little tougher. The standard mix falls somewhere between the two and is a beginner’s best bet.
Staying Alive… General Gameplay
Keep an ear out for the siren that sounds when an evil spore is created, as this is your only warning of their appearance (it’s almost impossible to spot them visually). As soon as the siren sounds, drop whatever you’re doing and concentrate on wiping out the spore before it turns into a portal.
Establish a base as soon as possible. Find an area which is (comparatively) easy to defend and select this as your bas (or “Beachhead” as it’s technically known). This can be used as the central point from which to expand across the screen. The best place to set up shop is in a corner, as this provides the best defence.
Einkreisungspolitik! This isn’t gibberish, but a German military phrase meaning ‘encirclement strategy’. We English refer to it as pincer movement, and it works just as well in Wicked as it did in World War II. Surround the enemy and make him fight on as many fronts as possible by scattering good portals all over the screen.
Kill off pockets of evil growth close to your portals as soon as you can. Otherwise an evil spore might settle there and overrun your portals. Remember – evil spores can only settle on existing evil growth.
Don’t just shoot evil growth willy-nilly. Good marksmanship is the key to success. The most effective method is to shoot out a pathway of evil growth from your good portals to his evil ones. As good growth can only cover dead evil growth, it is channelled between the living evil growth towards his portals. NEVER shoot evil growth that doesn’t represent a threat. It just wastes time.
All portals produce a limited amount of growth. Once they have done this they continue sporing but stop growing. Look out for evil portals that have exhausted their growth – they are far easier to knock out.
Stay cool when the drum/heartbeat sounds to indicate that time is running out. Although a screen may look even more daunting when there’s little time left, remember that by now most evil portals will have stopped growing. If the time runs out and the screen is filled with evil portals, stand by to protect yourself from the guardian. If you’re caught out, you’ll lose another life to him in the second or so before you lose the screen.
Experienced players should skip the first two constellations at the Eye of Infinity and jump straight in at the deep end. You can come back to these later to gain easy extra lives and – if you prefer – you can play them for a bit of light relief while in the middle of a tough conquest.
Growths
The growth’s intelligence is represented by its shape. The more intelligent the growth, the harder it is to wipe out, and the more damage it does to your portals. For the more intelligent growth, the best tactic is to surround the evil portals with your own, thereby cutting down their avenues of growth.
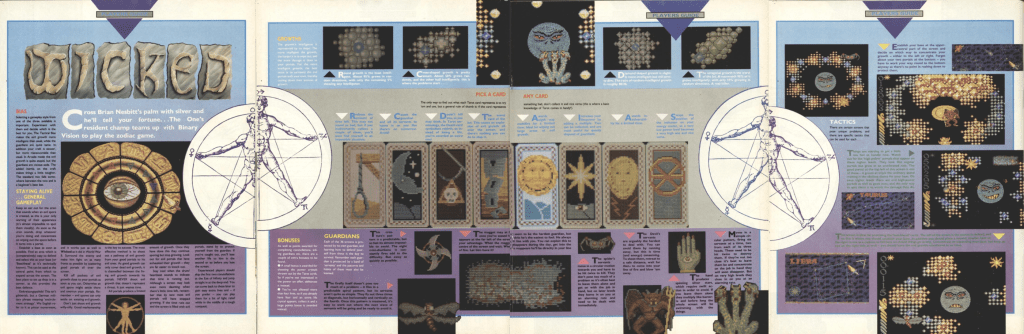
 | Round growth is the least intelligent. About 95% grows in random directions with only the remaining 5% showing any intelligence. |
 | Diamond shaped growth is slightly more intelligent but still pretty dim. The ratio of random-intelligent growth is roughly 80/20. |
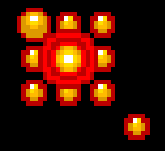
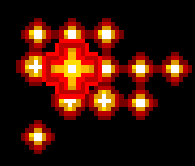 | Cross-shaped growth is pretty smart. About 50% grows randomly, and the other half intelligently. This is where the problems start… |
 | The octagonal growth is the worst of the lot. A mammoth 90% of it grows intelligently, with only 10% growing in random directions. A real killer. |
Pick a card, any card
The only way to find out what each Tarot card represents is to try ’em and see, but a general rule of thumb is: if the card represents something bad, don’t collect it and vice versa (this is where a basic knowledge of Tarot comes in handy!)
| Reduces the amount of time left. This may not sound so bad, but if you inadvertently collect a couple of these, you’ll soon find yourself in an impossible situation. | |
| Causes the guardian and all its servants to home in on you like there’s no tomorrow. Avoid! | |
| Doesn’t kill you, as you may think. In Tarot terminology, the Death card symbolises rebirth, so instead of losing a life, you’re awarded and extra one! | |
| The worst card of the lot. This causes an explosion of evil growth all over the screen, and there’s nothing you can do to stop it. | |
| Awards eight-way multifire for a limited time. Ideal for wiping out large areas of evil growth. | |
| Increases your firepower by adding a multiple. Tow can be collected, and are most useful for speedy disposal of guardians. | |
| Awards invulnerability for a limited time. | |
| Swaps the position of the indicator on your energy meter, so a very low power becomes a very high one and vice versa. |
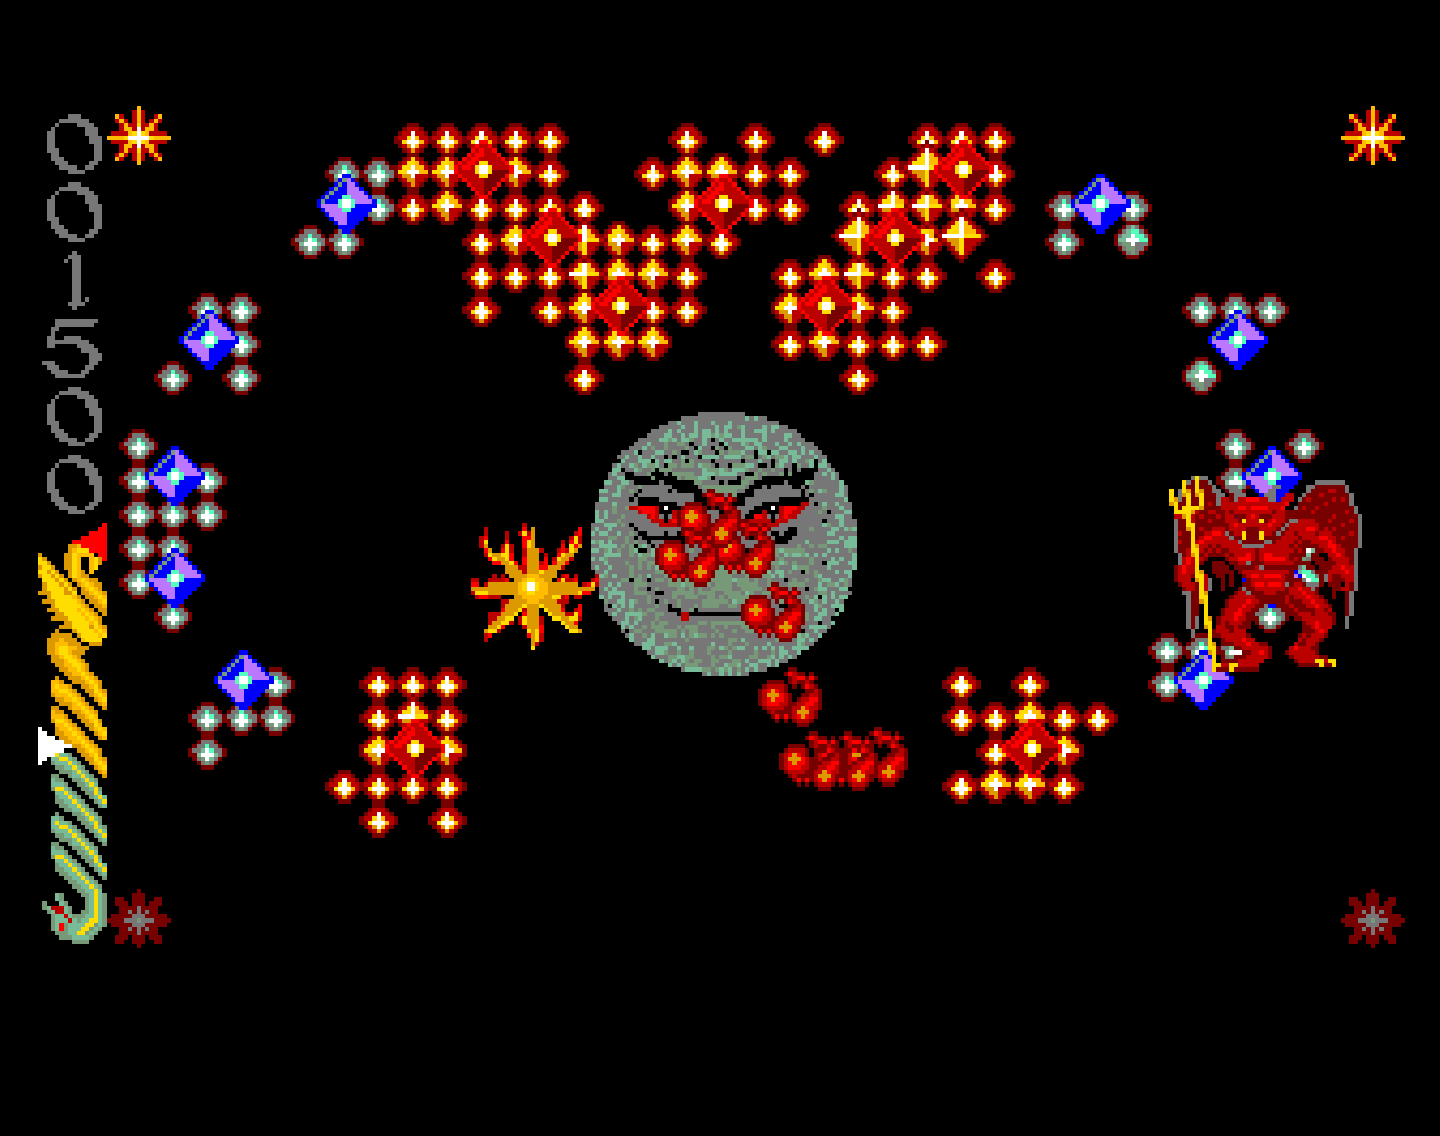
Guardians
Each of the 36 screens is protected by its own guardian, and learning how to defend yourself from these is the key to survival. Remember, each guardian is protected by a band of ‘servants’ and the patterns and habits of these must also be learned.
| The Devil’s servants are arguably the hardest to deal with. You can avoid them by running away, but this is time (and energy) consuming. To shoot them, retreat to a safe distance, wait for them to come into your line of fire and blow ’em away. | |
| This creature’s pattern is predictable, but so fast its almost impossible to avoid. The eight mini-shurikens it constantly fires add to the difficulty. Run away as quickly as possible. | |
 | The Hand produces spinning silver stars which require swift action in order to avoid. If you leave them alone, they multiply like bacteria and before long the whole screen will be swimming with the things. |
| Moves in a simple circular pattern, firing six servants at a time – two from each of its three heads. These need to be hit twice to destroy them. If they’re not too close, it’s best to leave them be and concentrate on the job in hand they will soon disappear. But on very high levels they close in on you at an alarming rate. | |
| The Spider’s servants move in a circular motion towards you and also have to be hit twice to kill. They don’t pose too much of a problem, so it’s often best to leave them alone and get on with the job in hand, but on later levels they start to home in on you at an alarming rate and need to be dealt with immediately. | |
| The firefly itself doesn’t pose too much of a problem – it flies in a predictable spiral pattern, but it’s servants aren’t quite as simple. They fly out three times in diagonals, but horizontally and vertically on the fourth. Once you master that pattern, it’s easy to work out where the next wave of servants will be going and be ready to avoid it. | |
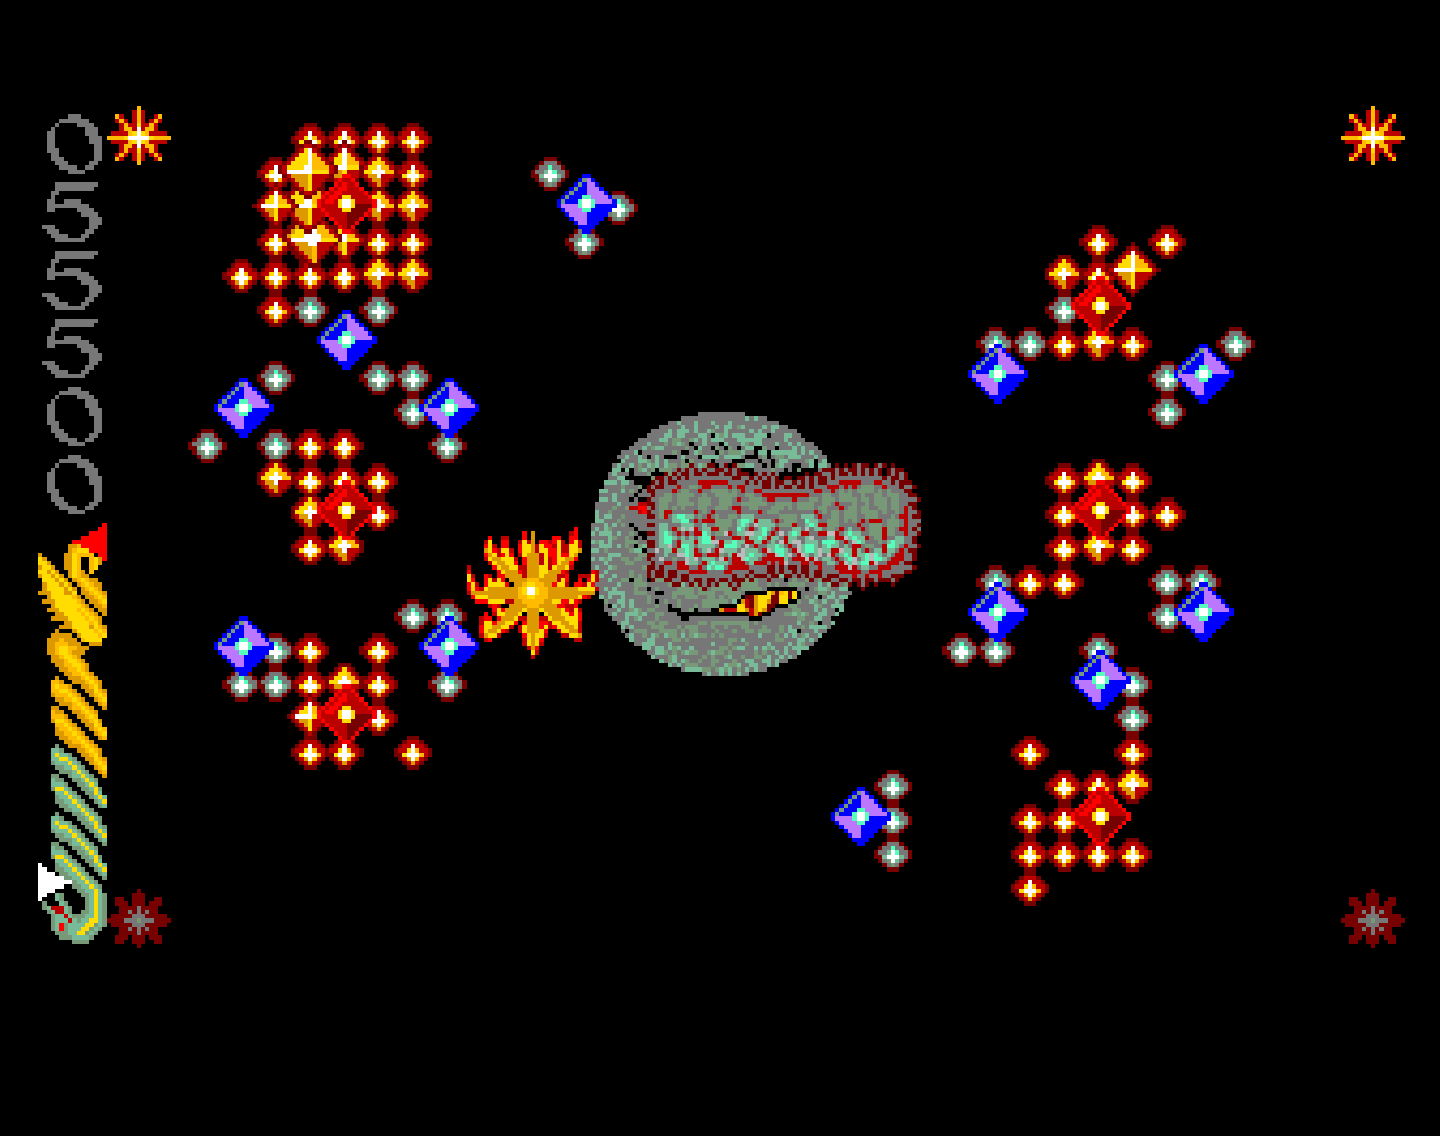
| The maggot may at first seem to be the hardest guardian, but once you’ve sussed his habits he’s the easiest to fool. He always appears at the far left of the screen in line with you. You can exploit this to your advantage. When the maggot disappears during the day, get into the centre of the screen and wait. When he reappears he will be directly in your line of fire. Let him have it! |
Bonuses
As well as points awarded for completing constellations, killing guardians etc. there are a couple of extra bonuses to be found.
A small bonus is awarded for shooting the power crystals thrown out by the Tarot cards. So if you’re not interested in the power on offer, obliterate it instead.
You’re not allowed more than four lives, so if you already have four and an extra life crystal appears, collect it and a large points bonus is awarded instead.
Tactics
There are certain screens that pose unique problems, and there are specific tactics than can be used for each…
 | (C2S1) This screen is ideal for practising the ‘beachhead’ tactic. The left of the screen is the easiest to defend, and so this is where you should establish your base. In addition, you should place a second, smaller base on the right to use as a cushion to fall back on should things go wrong. Concentrate on expanding your base but keep and eye on the right as well – you should have the evil growth smothered in no time. |
 | (C4S2) Establish your base at the upper-central part of the screen and decide on which way to concentrate your growth – either to the left or right. Forget about your two portals at the bottom – you have to work your way round to the bottom anyway so there’s no point rushing down to protect them. |
 | (C7S2) Things are starting to get a little too hot to handle now. Watch out for the ‘high power’ portals that appear on these higher levels. They look like regular portals, but grow at an accelerated rate. The good portal at the top left of this screen is one of these, it grows at triple the ordinary speed making it the obvious choice for your base. On even higher levels there are evil high-power portals as well as good ones, and the only way to spot them is to watch the damage they do. |
Amiga Format Player’s Guide
“Not only are we bringing you some tips, they’re straight from the programmers, Binary Vision, so there’s no-one better to give you the definitive playing guide.”
- Quick on the Spore: always kill evil spores (the red flashing stars) as they are the evil portals of the (very near) future. Leave them be and you’ll always be lagging behind the forces of Darkness. Listen out for the distinctive sound effect as they come into existence.
- Establish a ‘Beach-Head’: select an area of the screen which is (comparatively) easy to defend and establish your ‘Beach-Head’ here. This is what you’ll be using as a base to expand across the screen. Exactly where you set up your stronghold depends on the specific screen, but certain areas, such as corners have a natural defensive advantage.
- Keep a ‘Springboard’: As good spores can only be dropped on existing good growth to create a new portal, it’s a good idea to protect a few isolated growths on a distant part of the screen to the ‘Beach-Head’. Good spores can be settled (and good portals created) on this ‘Springboard’ to attack away from the beach-head once it has been secured. Failure to do this often means that you have gained the upper hand but don’t have time (keep a watch on the red bar) to grow right across the screen and secure victory.
- Einkreisungspolitik (phew!): an expression used by Bismark meaning ‘encirclement strategy’ or, to you and me, pincer movement. Surround the enemy with good portals and make him fight on two or more fronts (divide and conquer).
- When you’re getting good, skip the first two constellations at the start. You can come back to these later to get easy (!) extra lives and have a brief respite from the battle.
- Scoring: the secret to mega-scores is completing the last few constellations (easier said than done) but there are a couple of bonuses throughout the game:
A. A smallish bonus for shooting and destroying special power crystals. If you don’t want the power it gives you, rack up a few points by obliterating it.
B. If you’ve got all four extra lives stars lit up in the screen corners, collect another extra life despite the fact you don’t really need it to gain a big bonus. - Kill off pockets of evil growth close to your good portals. Otherwise, if you miss an evil sport, it might settle close to your portals and overrun them. Evil spores can only settle on existing evil growth.
- Careful shooting: shoot out a pathway of growth from your good portals to his bad ones. As good growth can only cover dead evil growth, it is channelled between areas of living evil growth towards his portals. Don’t shoot evil growth that’s not a threat as it wastes time and diffuses your attack.
- If you concentrate good portals in one area, huge good growths will be created. These fall quickly to evil forces if they come under attack, just as huge evil growths can be shot away and grown over rapidly by good growth: so take care.
- All portals produce a limited amount of growth. Once they have done this, they can continue sporing but stop growing. Look out for evil portals which have exhausted their growth capacity; they are far easier to knock out.
- When the drum/heartbeat begins, to indicate that time is short, don’t be distracted. If you concentrate you can often finish off a daunting screen, as many of the evil portals will have used up their allotted growth. Should the timer run out and the screen fill up with evil portals, don’t sit back and wait. Remember to protect yourself against the Guardian or you’ll lose another life to him in the second or so before you can actually lose the screen.
- Don’t send the Guardian back to Pandaemonium immediately day breaks, as he will return as night is falling. Knock him out as day is about to turn to night so you are shot of him when he’s at his most dangerous.
- It’s one thing to learn to read the cards and know what they mean but quite another to really understand them. Double fire or triple fire (with the extra-fire stars) doesn’t go away until you lose a life, but don’t pick up another power such as invulnerability or multi-fire as these will replace your extra-fire stars. Multi-fire is useful for clearing away swathes of enemy growth (especially if you’re in it up to your neck) but it prevents you adopting the careful shooting tactic as described earlier. There are a number of tricks you can play with the cards:
A. One card (which shall remain nameless!) inverts the position of your strength (the white arrow on the snake/bird dial), reduce your strength to near minimum before picking it up and you’re back to full strength. But be careful not to go too far and kill yourself (sounds stupid, but it does happen) and make sure you catch the crystal before the maggot pushes it off the edge or you’ll feel a right bozo.
B. The Aladdin syndrome – what? Beware collecting extra-fire stars. Generosity has its limits.
C. The Maggot and the Moon. During day, on screens with the Giant Maggot, collect the moon icon and rush behind the vermin. This pulls it towards you, slowly enough to blast it back to Pandaemonium. - The Guardians: There are seven of these, here are some tips on three:
A. Firefly – It’s easy to avoid the Firefly’s servants, all you need is rhythm. They fly out in a pattern, cyclically: three times diagonally followed by once straight.
B. The Devil – The Devil’s red globular servants are the meanest of all so give yourself extra space to shoot them out as they close in much faster.
C. The Maggot – at first the hardest adversary, but the easiest once you understand his ways. He always appears at the same vertical position as you and moves from left-to-right. During daytime, wait until he reaches the right and side of the screen and is disappearing, then move to an open space and fire to the left – he will appear and move right into your attack. The Maggot will duly appear at the same height as you on screen, and you can return to your original position. - The growths and intelligence: at first, evil growths grow randomly, but as play progresses they get smarter. Their level of intelligence is indicated by their shape:
Round = stupid/random growth
Diamond = slightly intelligent
Cross = intelligent
Octagonal = highly intelligent
On later levels it is essential to use the evil portals’ own intelligence against them. If you get within a few growths of an evil portal it will revert to a simple defensive strategy of growing towards (and trying to knock out) the nearest good portal. Plant good portals on all sides of intelligent evil portals, gradually dropping them closer. Back this up with steady attack fire against the portal and you should be able to overrun it. Another approach is to place a decoy good portal to one side of the target portal then amass many good portals slightly further away on another side. Fire from the decoy side to protect it against being overrun while the other massed portals attack the evil portal from the rear. - On later screens there are hidden High Power Portals. On the leftmost star of Taurus, for example, the top left good portal is growing three times faster than all the others on the screen, making it an obvious choice for a beach-head and certainly one to protect. But watch out, there are evil High Power Portals too and the only way to spot them is to keep a careful track on what damage they’re doing.
